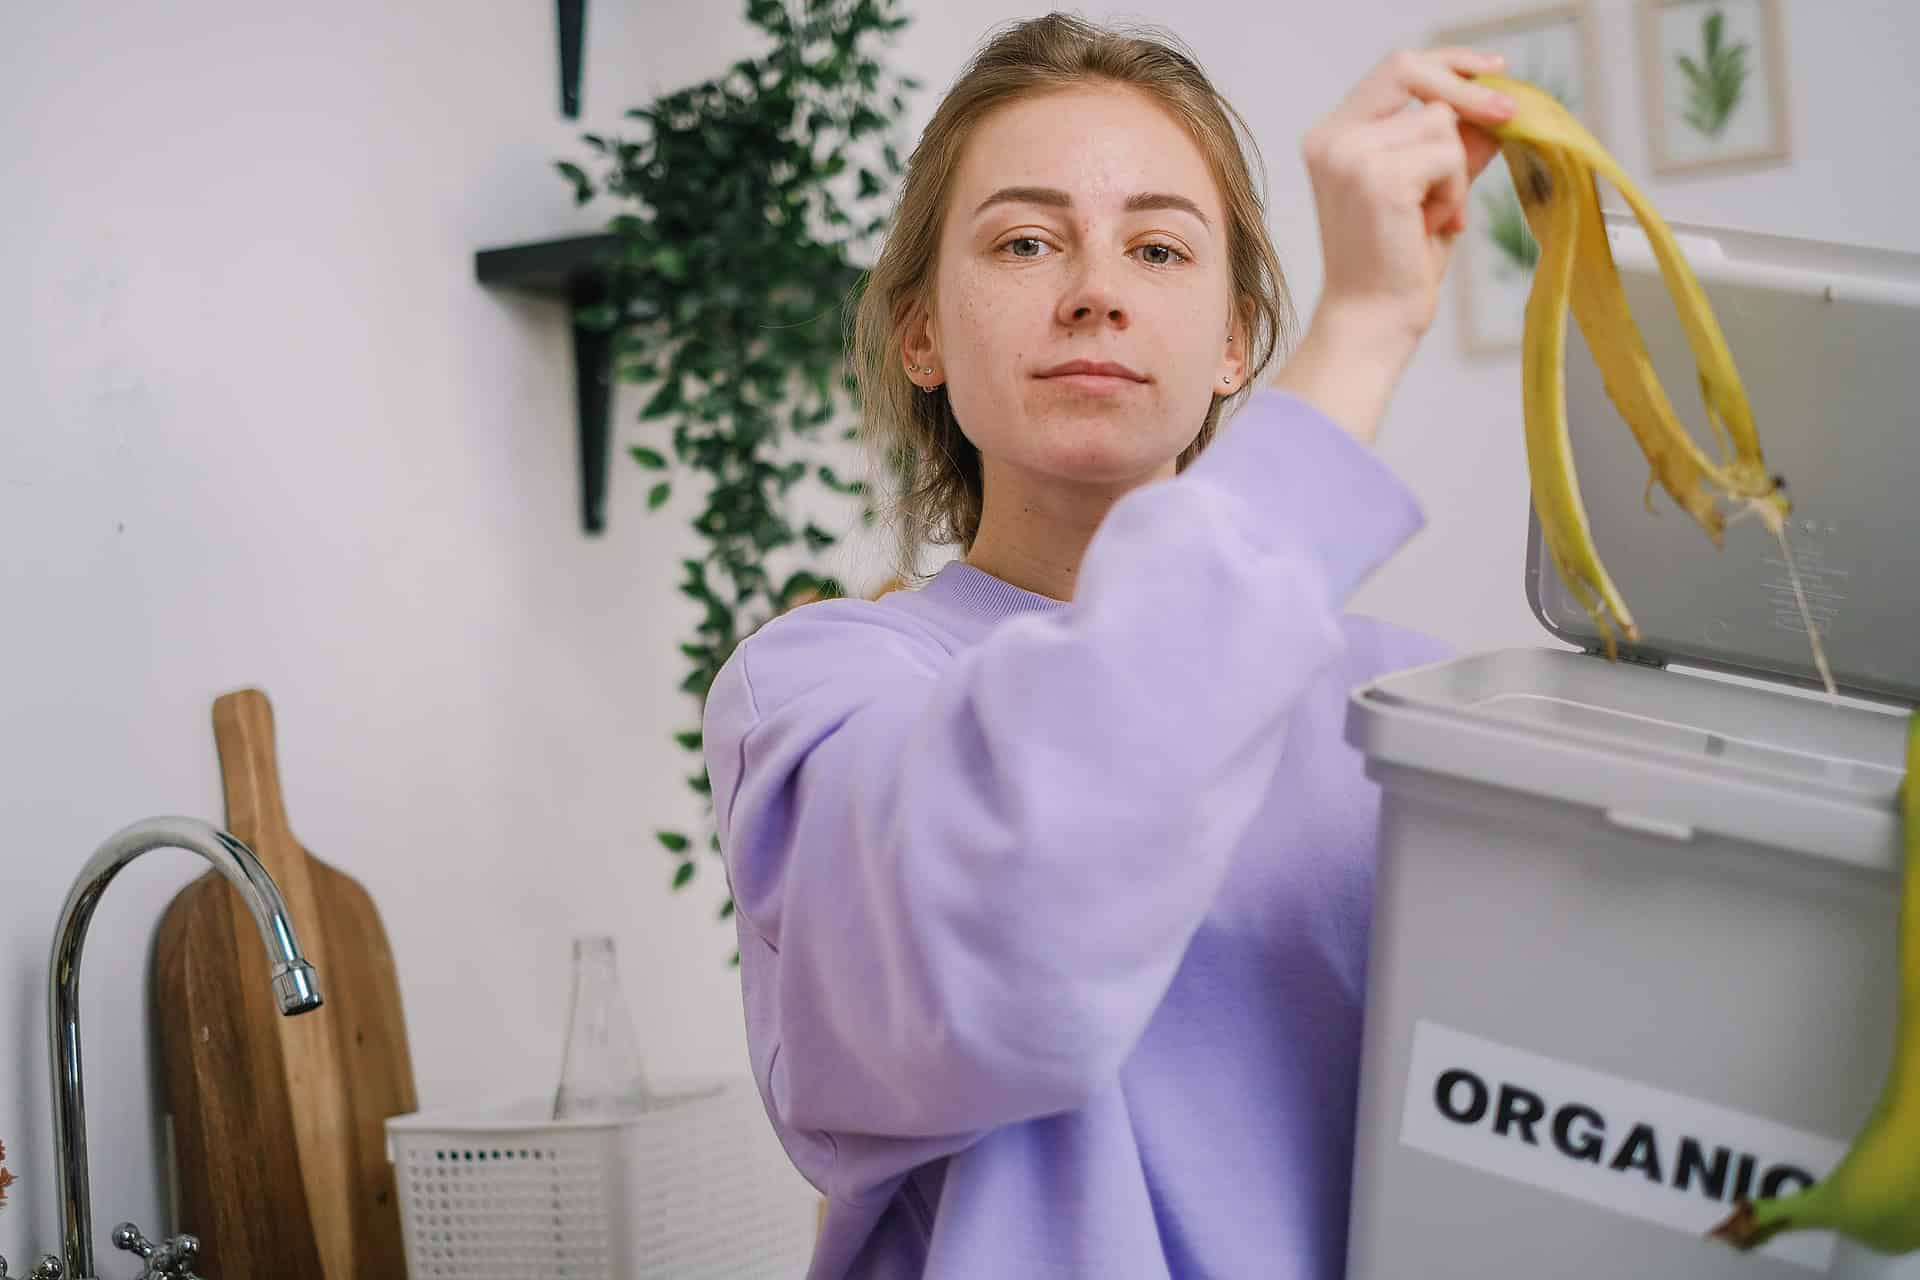
Are you wondering whether you can compost successfully in your apartment or indoors? Worried about what and how to compost at home?
We get it. It isn’t easy to be environment-friendly in big cities. Going zero-waste can seem daunting when everything around you is made to be disposable.
However, having less impact is achievable even in tiny spaces. Because every effort counts—even small ones.
And composting is one of the most effective ways to reduce and reuse your waste and give back to the planet.
Here, we’re telling you how to make your own indoor compost bin and the best solutions to have a satisfying experience composting indoors. We make it easy-peasy lemon squeezy for you ;)) Well, not really. But, pretty close.
But first, let’s know:
Why should you compost?
Here are four compelling reasons composting is excellent for the planet and you.
It reduces trash
Did you know we waste one-third of the food produced in the world every year? 25–50% of what people throw away is organic waste i.e., food waste and yard waste.
And that’s such a shame because 90% of all food scrap is recyclable. While you may not turn all your organic waste into compost, it can cut down your trash by a significant amount.
Composting is a smart way to keep food waste out of landfills, save resources like land and water, and recycle it for good use. You won’t know until you try to compost, how much of your waste is not waste at all.
It lowers methane emissions
Methane is a highly flammable greenhouse gas that’s emitted by several human-induced and natural sources. It is 80 times more powerful in contributing to global warming compared to carbon dioxide, over the first 20 years after it’s released into the atmosphere.
When food waste is stored underground in landfills, the lack of oxygen causes it to generate high amounts of methane gas. Which is extremely harmful to the environment.
By composting your organic waste you are keeping it away from landfills and helping reduce methane emissions. You also help reduce CO2 emissions caused by waste transportation.
It creates fertile soil for the earth
Decades of harmful human activity had degraded the quality of our soil worldwide. The soil that was once rich in nutrients and full of microorganisms has now become dead dirt.
Compost creates nutrients that when added to soil, breathe life into it. It improves the quality and fertility of the soil, making it capable of nurturing new life as plants and food.
You could add your compost to your indoor garden—read our easy apartment gardening guide—or you could contribute to a community garden if you have one nearby. By adding compost to the soil, you ensure that we have healthy soil that is a fertile source of life.
It’s a pretty satisfying activity
It’s truly satisfying to watch objects like food waste, fallen leaves, cardboard pieces, etc., come together and form an earthy-smelling mixture that helps feed new life. And to know the process happens under your care provides a unique sense of accomplishment.
When you compost, you complete the recycling loop, which helps a great deal in making the earth a cleaner, greener place.
Composting also makes you more mindful of your consumption and waste generation. It offers you a connection with the earth—a feeling of groundedness—and a reminder that we co-exist with all living organisms.
Composting is truly a wonderful activity that improves our lives in all aspects!
How to compost at home?
Now that you know all the benefits of composting, let’s look at the basics of how to compost indoors. These tips will ensure all your efforts pay off and you get the perfect compost to feed your soil.
Best methods for composting indoors
Did you know that there are different methods to compost organic waste? And out of all those, two work best indoors. They are:
Vermicomposting
Vermicomposting, simply put, is composting with worms. It’s a fairly easy and inexpensive way to compost at home. The red worms in the compost bin feed on the organic scraps to create castings, i.e., high-quality compost.
Around one pound of mature worms (800–1000 worms) eat up to half a pound of organic matter per day. Based on the volume of scraps that’ll turn into castings, the bin size can be matched accordingly. It takes around 3–4 months to produce usable castings. You can use it as potting soil for plants. And the ‘worm tea’ produced in the process is used as a quality liquid fertilizer for plants.
Food scraps, yard waste, and paper can be composted via vermiculture. It is ideal for small spaces and in terms of convenience. However, remember that field worms found in gardens or night crawlers are not suitable for vermicomposting. Red wrigglers are excellent for this as they consume waste fast.
Aerobic Composting
Aerobic composting uses aerobic organisms present in the soil to turn the waste into compost. It requires maintaining an ideal environment in which aerobic organisms thrive. To ensure this, there needs to be the right amount of holes in the container, and the right quantities of soil and scrap need to be used.
Creating aerobic compost includes using the right amount of organic waste (food scraps, yard waste, etc) and garden soil rich in microbes, and water and turning the pile occasionally with a pitchfork to aerate it well. Maintaining these conditions will put the microbes to work and break down the organic materials in the pile to create healthy compost.
Aerobic composting is another indoor composting method that’s easy and inexpensive. The compost created in the process is rich in nutrients and can be added to the soil as feed for plants and crops.
You can do both these types of composting using a composting bin.
What to compost and what not to compost
You can’t add all types of organic waste to compost. Particular types of waste hinder the composting process and attract pests to the indoor compost bin. You must avoid them to get the perfect compost.
You can compost these scraps:
- Vegetables and fruits
- Used coffee grounds
- Nutshells
- Brown paper products (shredded)
- Tea bags
- Crushed eggshells
- Newspaper, tissues, paper towels
- Woodchips, sawdust, toothpicks
- Cooked rice, pasta
- Fireplace ashes
- Leaves
- Hay and straw
- Grass clippings
- Corn husks
- Yard trimmings
- Stale bread
And definitely avoid putting these in the composting bin:
- Meat products
- Seafood products
- Dairy products of all kinds
- Fats, grease, or oils
- Disease or insect-ridden plants
- Pet waste
- Coal or charcoal ash
- Acidic foods
- Plastic
- Coated cardboard
- Diapers
- Black walnut tree leaves or twigs
- Leather products
- Wrapping paper
- Synthetic fabric
- Treated wood/sawdust
These items either contain compounds that harm the soil and humans, create problems in composting, or attract pests and insects by exuding an odor.
Essential tips for composting at home
Pay attention to the greens and browns
This is one of the most critical factors to focus on while composting. Researchers have said that getting the ratio of greens (vegetable peelings, grass clippings, tea leaves, etc) and browns (dead leaves, dead plants, weeds, and hay) right is key to making sure that the bacteria and microbes do their work.
Greens are rich in nitrogen and browns are rich in carbon, both of which are extremely useful to make the composting process work.
Use water moderately
Using the right amount of water makes sure that your compost isn’t too dry or soggy and has the right texture.
If your compost looks dry, sprinkling some water into it helps. If it looks damp, you can add more browns to it. It’s important to note that your compost should not be damp, or dry, but somewhere in between.
Ensure there are sufficient holes in the lid
Composting indoors in bins requires a specific quantity of exposure to air. Your indoor compost bin needs a certain amount of holes—not too many or too few—so that the bacteria and microbes have enough oxygen to work with.
Pick the right place
When composting indoors you need to place your composting bin in such a place that it won’t be a nuisance and can be left alone to sit for months. You can try putting it under the kitchen sink or on a balcony if you have one.
If you live in particularly hot weather, then keeping it inside the house within the shade works best. Because composting requires a specific temperature that is neither too hot nor too cold. A dry, shady space is most suitable.
Turn it up
Aerating the compost is very important to ensure that the process works properly. The microbes need a healthy amount of oxygen to compost the organic waste. Every once in a while, turn the mixture in your composting bin using a small pitchfork so that all of it gets exposed to air.
Best time to compost
While you can compost indoors all year round, the most productive composting period is from late summer to early winter. During this time, the weather is most favorable for composting to occur. Also, note that it takes around six months to get a thriving pile of compost.
How to create a DIY indoor compost bin
The simple way.
First off, here’s what you’ll need:
1. A container
Could be anything you own. Plastic and metal, both work. Any size you find suitable is fine. Ensure that the container has a lid.
2. A tray
To put under your container. It allows room for any spills that might occur. Don’t worry, if you do things right, it’ll only be dirt.
3. A drill
4. A nylon mesh screen
5. Hot glue gun
6. A small bag of soil
7. Kitchen scraps
8. Shredder newspaper
Here’s the process.
Step 1: Drill holes in the container lid
As we already mentioned above, the holes in the container lid ensure that there is enough oxygen supply for the bacteria to compost the organic matter within.
Depending on the size of your container, drill evenly spaced holes into the lid. For an average-sized container, around 5–6 holes will do. The holes shouldn’t be too many or too few.
Step 2: Cover the holes with a mesh screen
Covering the holes with a screen helps keep fruit flies and other bugs away from the compost. If you ensure to put only the right matter in the compost (refer to ‘what to compost what not to compost’ above) then there’ll be no worries about insects and flies.
Step 3: Fill the container with scraps
Now, it’s time to put stuff into your indoor compost bin. The ideal method is to layer dry leaves, twigs, and brown waste on the bottom of the bin. Then add some soil that’s rich in microbes. Put shredded newspaper and add your kitchen scraps and green waste afterward.
You can continue layering with soil, browns, and greens in the future. However, ensure that you don’t fill the bin to the brim.
If you’re doing vermicomposting, then you’ll need about a pound of red wriggler worms for an average-sized indoor compost bin. You can get them online or from your nearest nursery. The worms can be added to the top of the compost with some dirt.
Ensure that you cut your scraps into small pieces and huge chunks, as your indoor bin doesn’t have that large of a space. Also, a 50–50 ratio of browns and greens works well.
Step 4: Stir the compost
Stir your compost mixture once every week to aerate it well. This will cause the perfect compost that has a good texture and is rich in nutrients.
You can use a long, pointed object if you have one at hand. Or you can get a small pitchfork, that you can keep using to stir your compost.
Ensure you close the lid tightly after stirring the compost to keep insects away.
Maintaining your indoor compost bin
- Keep adding scraps as you get them. Make sure it’s the right amount based on your compost bin size. Cut the waste down into small pieces for maximum results.
- Every time you add greens, add a scoop of soil and dry waste like newspaper shreddings, as well.
- If your compost looks dry, sprinkle some water.
- Stir the mixture once a week, while adding in some soil.
- Once your compost is ready, you can use it as feed for your home garden. Or you can look for compost drop-off locations nearby your house. If you have a community garden you can contribute to, that’d be great as well!
And, voila! You’re done. Now all you have to do is rinse and repeat.
Common composting solutions
Smell
Following the instructions in this article will minimize the chances of having smelly compost. However, if your compost smells funky, add a bunch of dry leaves or newspaper shreddings to the pile. This will balance the green to brown ratio and control any acidic odors.
Not enough heat
An ideal mix of greens and browns gets the composting process rolling and emits heat. If your compost doesn’t feel warm to the touch, something might not be working out.
It’s either finished composting or has slowed down because of the cold. Adding in more greens helps fill in more nitrogen, which helps with the heat. Or, if it’s because of the weather, add in a layer of hay on top to keep the compost warm.
Pests and bugs
An effective step to keep bugs and pests away is to ensure you choose the right container and close the lid tight. Another thing to remember is to not add any dairy, meat, or seafood products to the mix. This will keep the pests away for good.
The mesh covering the holes also helps keep fruit flies and tiny bugs away.
Decomposition
If it’s looking like your mixture isn’t composting, or the process seems extremely slow, you might not be aerating the mixture properly. Or, you might have added the greens in large chunks.
While the holes in the lid ensure the compost receives oxygen, it’s also necessary to stir the compost. Do it once every week, without fail. And keep your organic waste particles small so that all the matter breaks down faster.
Damp mixture
If your compost looks or feels damp, you might have added a bit too many greens and not enough browns. You also might have gone overboard with water. This can cause the compost to emit an odor and attract bugs.
To bring the consistency back to normal, add more browns. Dry leaves, dead twigs, newspaper pieces, etc, work well. And keep the water to a minimum. Use it only when your compost looks dry.
So, that’s how you make and use an indoor compost bin yourself, the easy way. We hope the tips and best practices we shared will help you successfully compost at home with minimal effort. Remember, it’s okay to make mistakes and learn as you compost—nobody gets it right the first time! Happy composting :))
