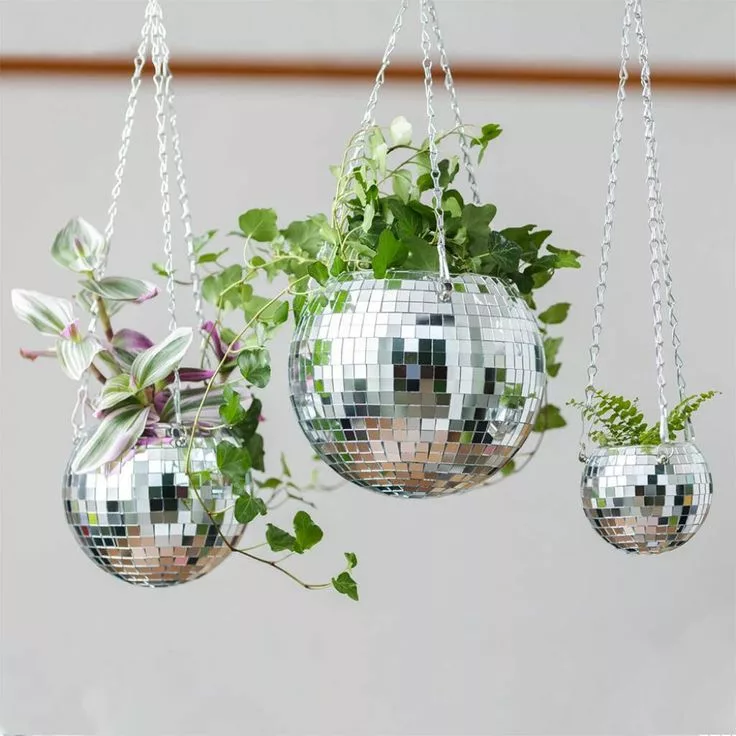
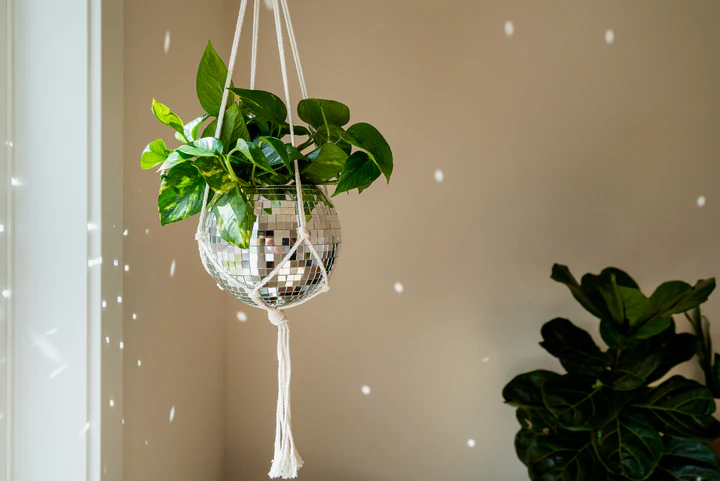
In an era where sustainability and eco-friendly practices are paramount, they’re not just trends but essential aspects of our lifestyle. We bring you an inventive method to blend green living with chic home decor. Our DIY Eco-Friendly Guide will illustrate how to construct your own shimmering disco ball planter using recycled materials.
This project doesn’t just add a sparkle to your environment but also promotes eco-friendly planters and creative recycling projects, laying the groundwork for further sustainable gardening tips and practices. Dive into the world of creative home gardening with a project that’s as fun as it is environmentally responsible.
Credits: Havenstone Home
Benefits of Using Recycled Materials
Opting for recycled materials in your gardening and home decor endeavors has a profound impact on our planet. It’s not just about reducing waste; it’s about conserving energy, minimizing pollution, and preserving our natural resources for future generations. Moreover, recycled gardening allows for a unique personal expression and a true hands-on approach to sustainability. It’s about creating something that reflects your style and ethics, and there’s nothing more rewarding than knowing your beautiful home decor is also kind to the earth.
Materials Needed
Embarking on this DIY planter project requires some basic materials, most of which you might already have at home. In keeping with our theme of sustainability, we recommend sourcing these items from your collection of recyclables or your local thrift store:
- Old CDs or any reflective materials
- A sturdy plastic bowl or an old disco ball ready for repurposing
- Eco-friendly adhesive or glue
- Grout (if you’re planning to do a mosaic-style design)
- A plant pot made from recycled or biodegradable materials
- Your choice of plant, preferably one that thrives indoors
Gathering these recycled materials is the first step in our eco-conscious project. It’s like a treasure hunt, where your old items get a glamorous second life!
Step-by-Step Guide to Building Your Disco Ball Planter
Credits: Amazon
1. Preparing Your Materials
Kickstarting your disco ball planter begins with assembling your recycled materials, primarily old CDs, which you’ll cut into small, reflective fragments. Prioritize safety by donning gloves and, if needed, gently warming the CDs to make slicing easier. Organize your shimmering pieces and set up a well-ventilated workspace covered with newspapers to catch adhesive spills. This initial step is not just about preparation; it’s about ensuring a safe, efficient, and creative start to your eco-friendly crafting adventure.
2. Assembling the Planter
This phase involves strategically gluing the mirror pieces onto your base, creating a reflective mosaic that’s both artistic and functional. Use an eco-friendly adhesive for a durable bond, and let your creativity guide your design — there’s no right or wrong. Ensure each piece is firmly pressed and give the adhesive enough time to dry, securing your disco ball planter’s sparkling facade.
3. Adding the Finishing Touches
Once your planter’s exterior is complete, consider adding other embellishments. Maybe you want to grout between the mirrored pieces for a mosaic look, or perhaps you prefer to add a splash of color with some eco-friendly paint.
Also Read: The Ultimate Guide to Choosing Vine House Plants
4. Planting Time
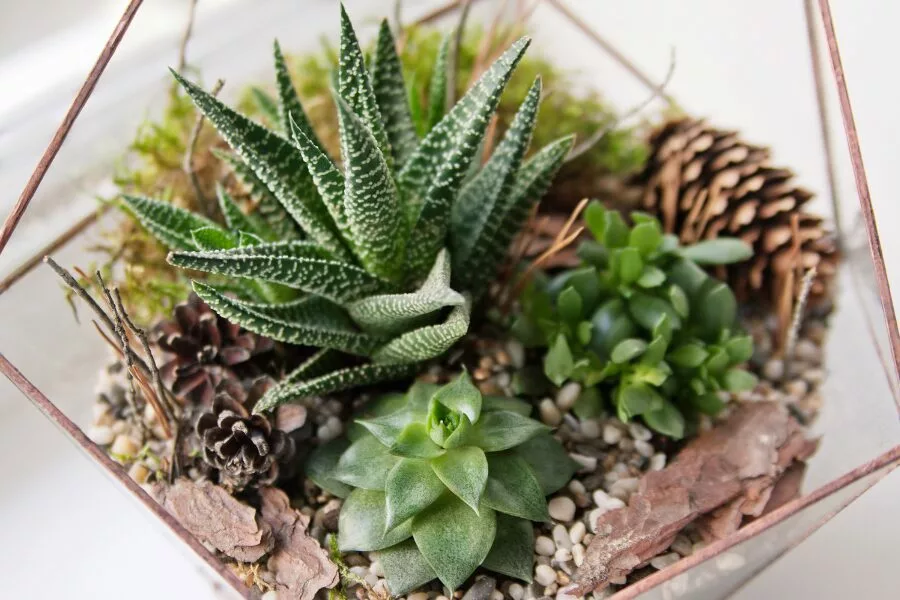
Choosing the Right Plant: Not all plants are suited for life in a disco ball planter. Opt for species that prefer indoor conditions and don’t have extensive root systems. Succulents, air plants, and some herbs like basil or parsley are excellent choices. They’re not only beautiful but also hardy, requiring minimal upkeep.
Preparation for Planting: Before you place your plant into the planter, ensure it has adequate drainage. If your planter doesn’t have drainage holes, add a layer of pebbles or activated charcoal at the bottom to help prevent waterlogging. This is essential for the plant’s health, as standing water can lead to root rot, a common issue in indoor gardening.
Using the Right Soil: Depending on the type of plant you’ve chosen, you’ll need to use the appropriate soil. Succulents prefer dry, sandy soils, while herbs thrive in rich, organic soil. Do a little research to understand what your plant would enjoy best.
Planting: Once your planter is prepped, it’s time to add your plant. Remove it from its current container, gently tease the roots to stimulate growth, and place it in the planter. Fill around the plant with your soil, pressing gently to secure it in place.
Watering: After planting, give your plant some water. However, be cautious with the amount, as overwatering is a common mistake. If you’re planting succulents or air plants, they’ll need even less.
Location: Finally, place your new disco ball planter in a location where it’ll get adequate light, but be wary of too much direct sunlight, as the reflective pieces can magnify the light and potentially harm the plant.
Remember, the goal here is to create a healthy environment for your plant to thrive, so don’t rush through this part. Your plant’s well-being depends on it!
Credits: Amazon
Customizing Your Disco Ball Planter
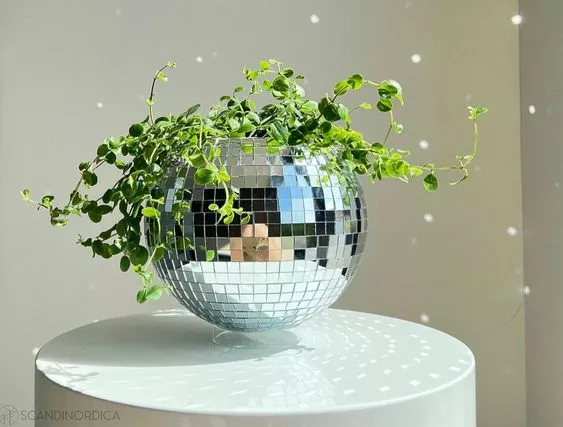
Your disco ball planter is a reflection of your style, creativity, and commitment to eco-friendly practices. This step in the process allows you to truly customize your project. From choosing different colored mirror pieces to adding personal touches like painted designs or decorative stones, this is your chance to make your planter uniquely yours. You’re not just creating a vessel for a plant; you’re crafting a piece of home decor that speaks to your personal style and values.
Showcasing Your Disco Ball Planter
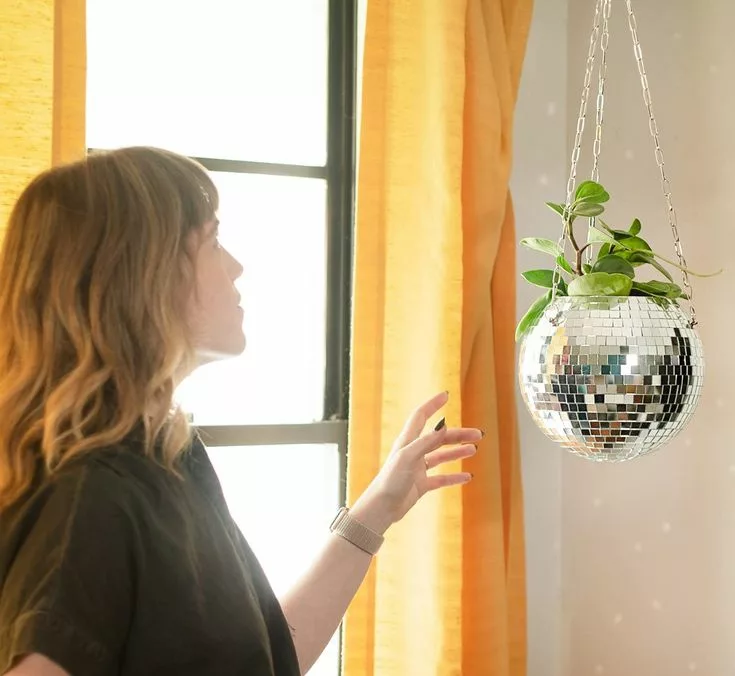
Your disco ball planter isn’t just a planter; it’s a statement piece. Whether you choose to have it as a centerpiece on your dining table, a sparkling addition to your living room, or even a chic accessory for your outdoor space, it’s bound to be a conversation starter. Use it for everyday home decor or as a special feature for parties and gatherings. The reflective mirrors will catch the light, and your planter will catch everyone’s eye!
Also Read: Are Snake Plants Toxic to Dogs?
Conclusion
Eco-friendly home projects like creating a disco ball planter from recycled materials are more than a delightful way to spend your time; they’re a declaration of the sustainable lifestyle you’re embracing. By engaging in DIY home projects and creative recycling projects, you’re not just crafting; you’re making a statement about the world you want to live in. So, next time you’re about to throw something away, remember: there’s a world of possibility in that object, perhaps even a disco ball planter waiting to come to life. Here’s to sustainability, creativity, and a whole lot of sparkle!
Ready to transform your space and embrace a greener lifestyle? Dive into our Home & Lifestyle blogs for more DIY magic and expert planting tips! Let’s cultivate beauty and sustainability together. Explore now!
