Drying your own basil at home is a rewarding and practical way to preserve this aromatic herb. Imagine having the delightful aroma and taste of basil at your fingertips, regardless of the season. Not only does drying basil allow you to capture its peak flavor, but it also ensures you have a constant supply of this versatile ingredient throughout the year. Whether you’re whipping up a quick pasta dish, crafting a gourmet sauce, or brewing a soothing herbal tea, having dried basil on hand can make a world of difference.
By drying your own basil, you can enjoy numerous benefits. It’s more cost-effective than buying pre-packaged dried basil, and you can ensure that the herb is free from pesticides and chemicals, especially if you opt for organic varieties. Plus, the satisfaction of using basil you’ve grown and dried yourself adds a personal touch to your culinary creations.
In this article, we cover it all! Here’s everything you need to know about DIY dried basil!
What is Dried Basil?

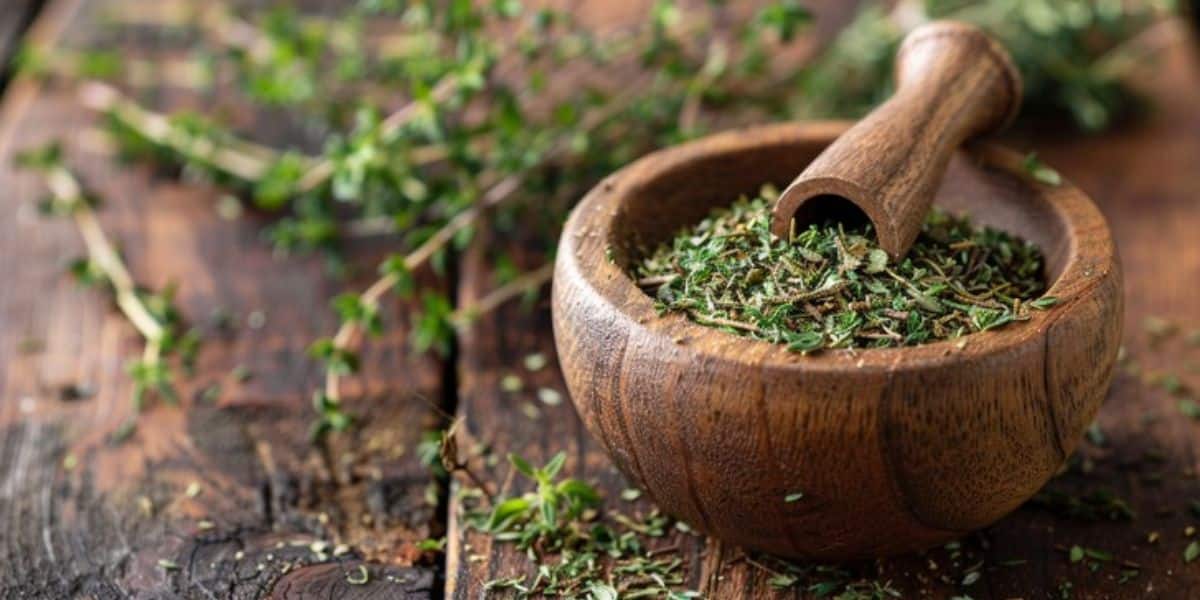
Dried basil is simply fresh basil leaves that have been dehydrated to remove moisture, preserving the herb’s essential oils and flavors. This process concentrates the basil’s aroma and taste, making it a staple in many kitchens for seasoning and enhancing a variety of dishes. Imagine the convenience of having basil with intensified flavors ready to elevate your cooking anytime.
Dried basil is incredibly versatile. It’s commonly used in Italian cuisine, bringing that distinct basil flavor to pasta sauces, pizzas, and salads. But its uses don’t stop there; dried basil is also a fantastic addition to soups, stews, and marinades. Beyond cooking, dried basil holds a place in herbal remedies, known for its potential health benefits like aiding digestion and reducing inflammation.
Types of Basil Suitable for Drying
Several basil varieties are perfect for drying, each offering unique flavors and aromas:
Sweet Basil (Ocimum basilicum): This is the classic basil most people are familiar with. Known for its sweet, clove-like aroma, sweet basil is the most common type used in cooking. It’s perfect for drying due to its robust flavor, which remains potent even when dehydrated.
Italian Basil: Similar to sweet basil but with a slightly more robust flavor, Italian basil is ideal for traditional Italian dishes like pesto and caprese salad. Drying Italian basil captures its rich, complex flavor, making it a valuable addition to your spice rack.
Egyptian Basil: This variety offers a unique, spicy flavor that is excellent for exotic recipes. Drying Egyptian basil retains its distinctive taste, which can add an exciting twist to your dishes.
Organic Basil Varieties: Opting for organic basil ensures no pesticides or chemicals, preserving the purity of the herb. Organic basil varieties are just as suitable for drying and offer peace of mind for those concerned about chemical residues.
DIY Dried Basil At Home
Now that you have an idea about the varieties of basil, your curious mind would like to explore the DIY tricks for getting dried basil at home. Serving right to your curiosity, we have compiled a few methods to get dried basil. Jump in and read!
Air-Drying Method
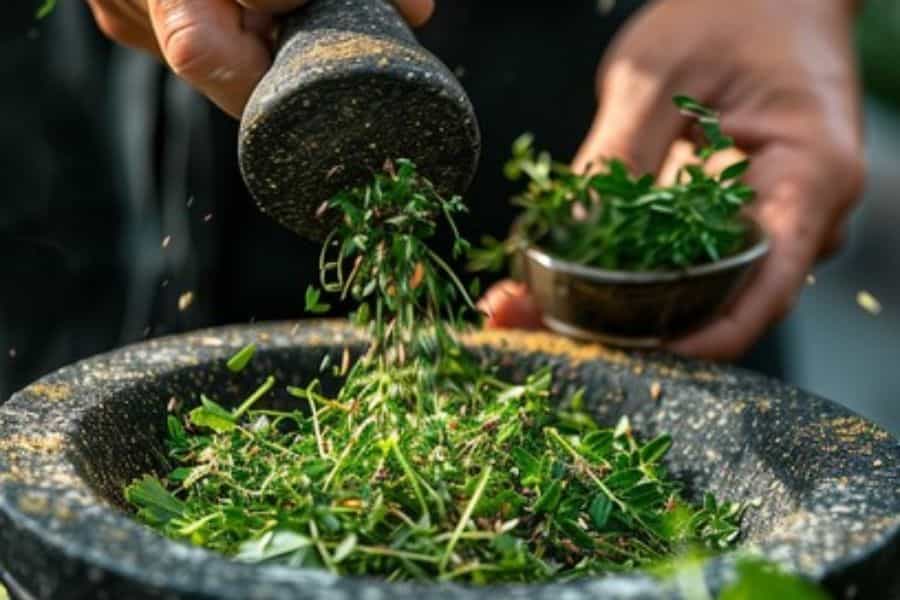
Air-drying is a simple and effective way to dry basil, perfect for those who prefer a natural method without any special equipment.
Step-by-Step Guide:
- Harvesting Fresh Basil: Pick fresh basil leaves in the morning after the dew has dried but before the heat of the day sets in. This timing ensures the leaves are at their peak flavor.
- Washing and Drying the Leaves: Rinse the basil leaves thoroughly to remove any dirt or insects. Pat them dry with a clean towel to remove excess moisture.
- Removing Stems: Remove the leaves from the stems. While the stems can also be dried and used, the leaves are where most of the flavor resides.
- Ideal Conditions for Air-Drying: Place the leaves in a well-ventilated, dry area away from direct sunlight. You can lay them out on a clean surface or tie them in small bundles and hang them upside down. Turn the leaves occasionally to ensure even drying.
- Checking for Dryness: The leaves are ready when they are crisp and crumble easily. This usually takes about 1-2 weeks, depending on humidity and airflow.
Oven-Drying Method

Oven-drying is a faster method, ideal for those who need dried basil quickly.
Step-by-Step Guide:
- Preheat Your Oven: Set your oven to the lowest temperature setting, typically around 170°F (75°C). This low temperature helps preserve the basil’s essential oils.
- Preparing the Basil: Place the washed and dried basil leaves on a baking sheet lined with parchment paper. Spread them out in a single layer to ensure even drying.
- Temperature and Time Considerations: Dry the leaves in the oven for about 1-2 hours, checking periodically to avoid burning. The leaves should be crisp and dry. If your oven’s lowest setting is higher, prop the door open slightly to reduce the temperature.
- Cooling and Storing: Allow the dried basil to cool completely before storing it in airtight containers. This step is crucial to prevent moisture from condensing inside the container, which could cause mold.
Using a Dehydrator

Using a dehydrator provides a controlled environment, making it a reliable method for drying basil.
Step-by-Step Guide:
- Setting Up the Dehydrator: Arrange the basil leaves on the dehydrator trays in a single layer. Avoid overlapping the leaves to ensure they dry evenly.
- Dehydrating Process: Set the dehydrator to 95°F (35°C) and let it run for 12–24 hours, or until the leaves are completely dry. The precise time can vary depending on the humidity and the type of dehydrator used.
- Advantages of Using a Dehydrator: Dehydrators provide a consistent drying environment, reducing the risk of mold and preserving the basil’s flavor and nutrients. This method is particularly useful if you dry herbs frequently.
Preparing Fresh Basil for Drying
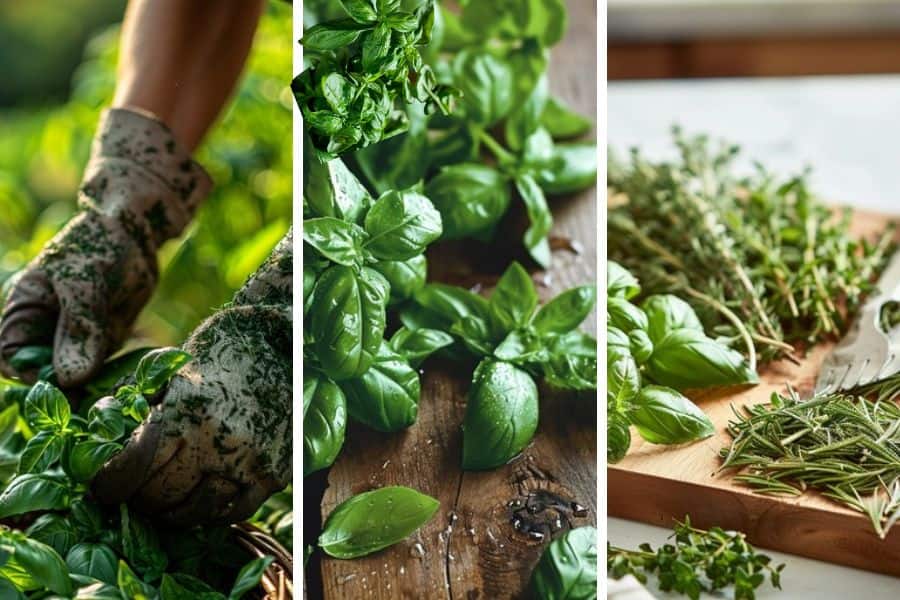
Harvesting Fresh Basil: Pick the basil leaves when the plant is full and vibrant. The best time is in the morning, after the dew has dried but before the day gets too hot.
Washing and Drying the Leaves: Rinse the leaves thoroughly under cool water to remove any dirt or insects. Pat them dry with a clean towel or use a salad spinner to remove excess moisture.
Removing Stems: While you can dry the stems, they tend to be tougher and less flavorful than the leaves. Removing the stems ensures you’re drying the most flavorful parts of the plant.
How to Store Dried Basil?
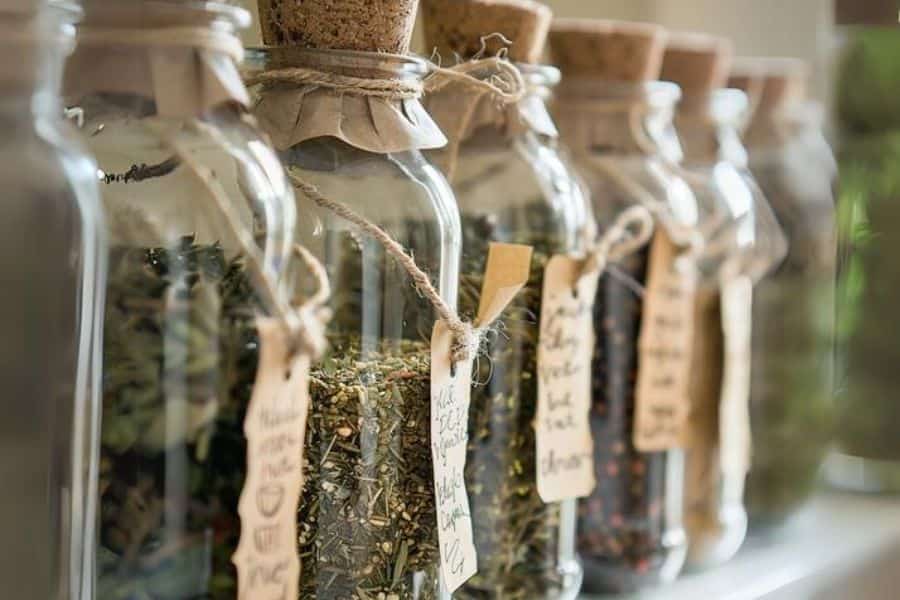
It is very essential to keep your precious ingredient fresh for a long time. Below are a few quick tips to help you with this.
Best Practices for Storing Dried Basil:
Containers and Storage Conditions: Store dried basil in airtight containers, such as glass jars with tight-fitting lids. Keep the jars in a cool, dark place, like a pantry or cupboard, to protect the basil from light and heat, which can degrade its flavor.
Shelf Life and Maintaining Freshness: Properly stored, dried basil can last up to a year, though it’s best used within six months for optimal flavor. To check if your dried basil is still good, crush a small amount in your hand and smell it; if the aroma is weak, it’s time to replace it.
Using Your DIY Dried Basil

Once the DIY magic is performed, you should definitely explore the multiple uses of these amazing dried basil leaves. Hold this thought for a while because, right here we have options for you.
Recipes and Culinary Uses: Dried basil is incredibly versatile in the kitchen. Use it to enhance the flavor of pasta sauces, soups, stews, marinades, and even homemade salad dressings. Sprinkle it on pizza, incorporate it into spice blends, or use it as a seasoning for roasted vegetables.
How to Rehydrate Dried Basil: To rehydrate dried basil, soak it in warm water for about 10 minutes before using it in recipes that call for fresh basil. This process helps to revive some of its original texture and flavor.
Comparing Flavor and Potency with Fresh Basil: Dried basil has a more concentrated flavor than fresh basil, so you typically need to use about one-third the amount of dried basil as you would fresh basil. For instance, if a recipe calls for 1 tablespoon of fresh basil, use 1 teaspoon of dried basil.
Benefits of DIY Dried Basil
Drying your own basil at home offers a range of benefits that enhance both culinary experiences and household efficiency. From cost savings and quality control to waste reduction and year-round availability, DIY dried basil is a practical and flavorful addition to any kitchen.
Cost Savings: Growing and drying your own basil can be significantly cheaper than buying pre-dried herbs, especially if you use a lot of basil in your cooking.
Quality Control and Organic Options: Drying your own basil allows you to ensure it’s free from pesticides and chemicals, particularly if you grow it organically. You have complete control over the drying process, ensuring the highest quality.
Nutritional Benefits: Dried basil retains many of the nutrients found in fresh basil, including vitamins A, C, and K, as well as antioxidants that can help fight inflammation and support overall health.
Also, read about the numerous benefits of basil.
Dried Basil Vs Fresh Basil: Which is Better?
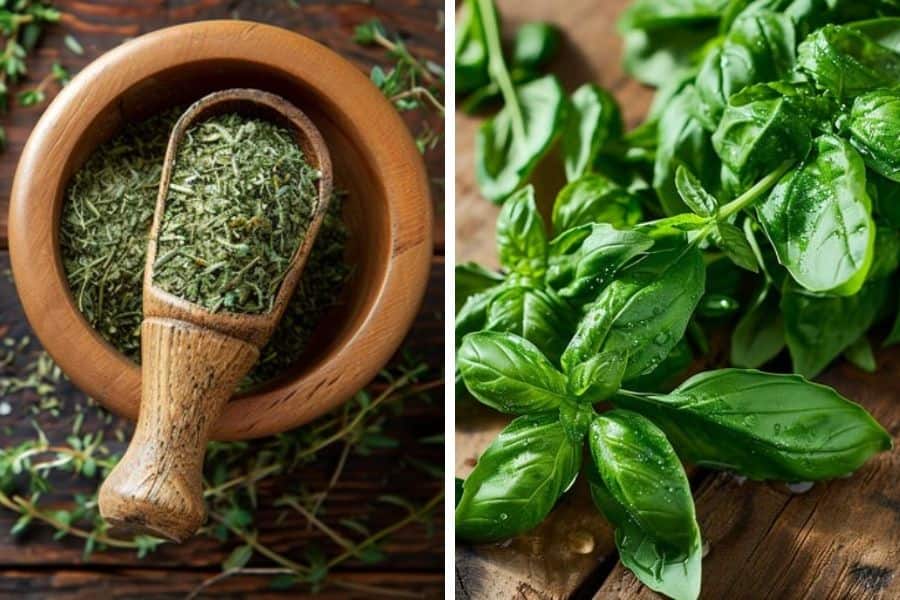
The choice between dried and fresh basil depends on the specific culinary application. Fresh basil is ideal for dishes where its bright, aromatic flavor and texture are highlighted. Dried basil is perfect for recipes that require cooking, where its concentrated flavor can infuse the dish. Having both on hand ensures you can enjoy the best of both worlds.
Flavor and Aroma Comparison: Fresh basil has a bright, herbaceous flavor that is unmatched. However, dried basil offers a more intense, concentrated taste that can be equally delightful in different dishes.
Cost Comparison: Fresh basil can be more expensive and has a shorter shelf life, requiring regular trips to the grocery store or farmers’ market. Dried basil, on the other hand, is more cost-effective and long-lasting.
Quality and Purity Considerations: When you dry your own basil, you ensure the highest quality and purity, free from additives and preservatives that might be present in store-bought dried basil.
Summing up!
Drying your own basil at home is a simple and rewarding process that ensures you have a constant supply of this flavorful herb. Imagine the satisfaction of sprinkling your homemade dried basil into a simmering pot of pasta sauce or a fresh garden salad, knowing it was grown, harvested, and dried by your own hands. Not only does this practice offer significant cost savings, but it also allows you to control the quality and purity of your herbs, especially when you choose organic varieties.
By following the steps outlined in this guide, you can easily master the art of drying basil. Whether you prefer the natural method of air-drying, the efficiency of oven-drying, or the precision of using a dehydrator, each method has its own unique advantages. Storing your dried basil properly ensures it retains its vibrant flavor and nutritional benefits, ready to enhance your culinary creations all year round.
So, why not give it a try? Start drying your basil today and transform your cooking with the rich, aromatic flavor of homemade dried basil. Not only will you be saving money, but you’ll also be adding a personal touch to your meals that store-bought herbs simply can’t match. Share your dried basil success stories with friends and family, and inspire them to embark on their own herb-drying adventures.
Again, don’t stop your search for the amazing kitchen hacks. To add to your basil story, explore more about basil flowers at our blog.
Frequently Asked Questions (FAQs)
1. How do I dry basil at home?
To dry basil, wash and pat the leaves dry. You can air dry by hanging bunches upside down in a cool, dark place for about 1-2 weeks. Alternatively, you can use an oven or a dehydrator at the lowest setting (around 95-115°F or 35-46°C) for 2-4 hours.
2. How long does dried basil last?
When stored in an airtight container in a cool, dark place, dried basil can last for about 1 to 3 years. However, for the best flavor, it’s recommended to use it within a year.
3. How do I use dried basil in recipes?
Dried basil is best used in cooked dishes like soups, stews, sauces, and baked goods. Because it’s more concentrated than fresh basil, use about one-third of the amount called for in recipes using fresh basil.
4. What are the benefits of drying basil myself?
DIY drying ensures quality control, cost savings, and the satisfaction of using homegrown herbs. It also allows you to preserve the basil’s flavor and nutrients, and reduce waste by using excess basil from your garden.
